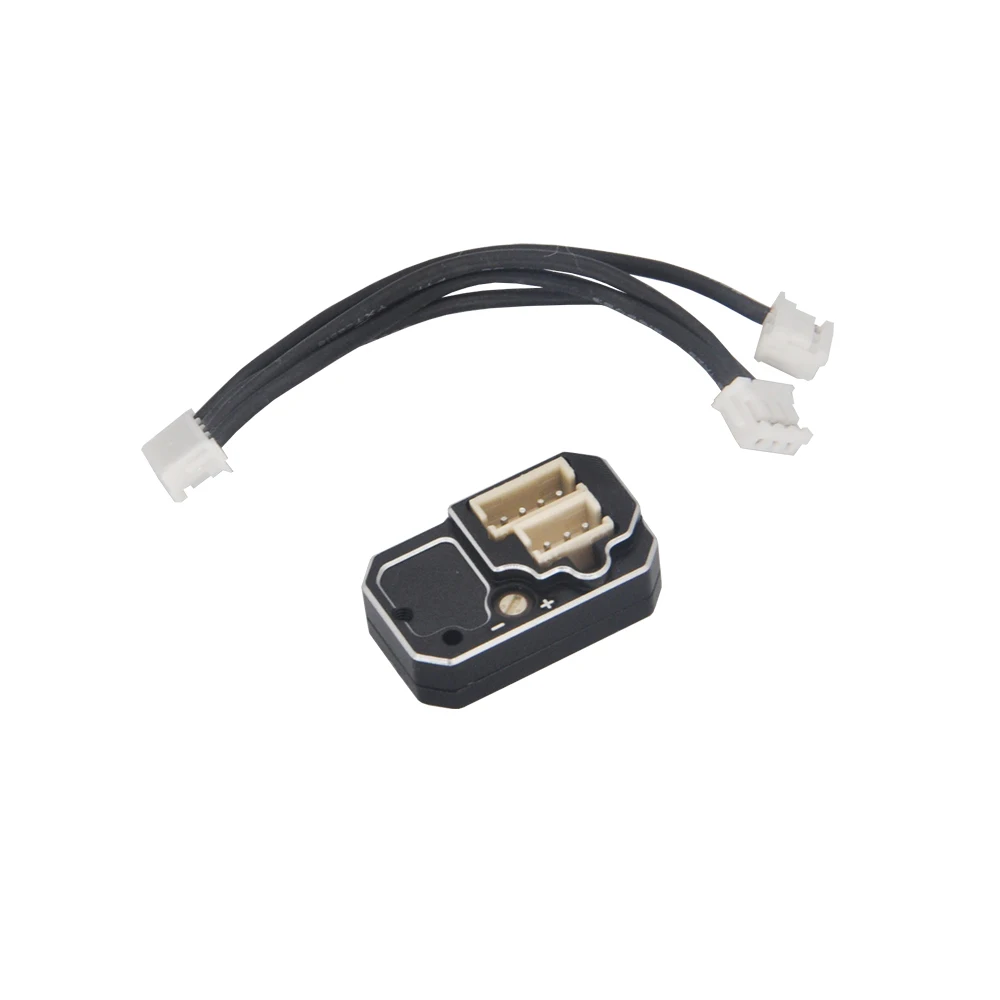
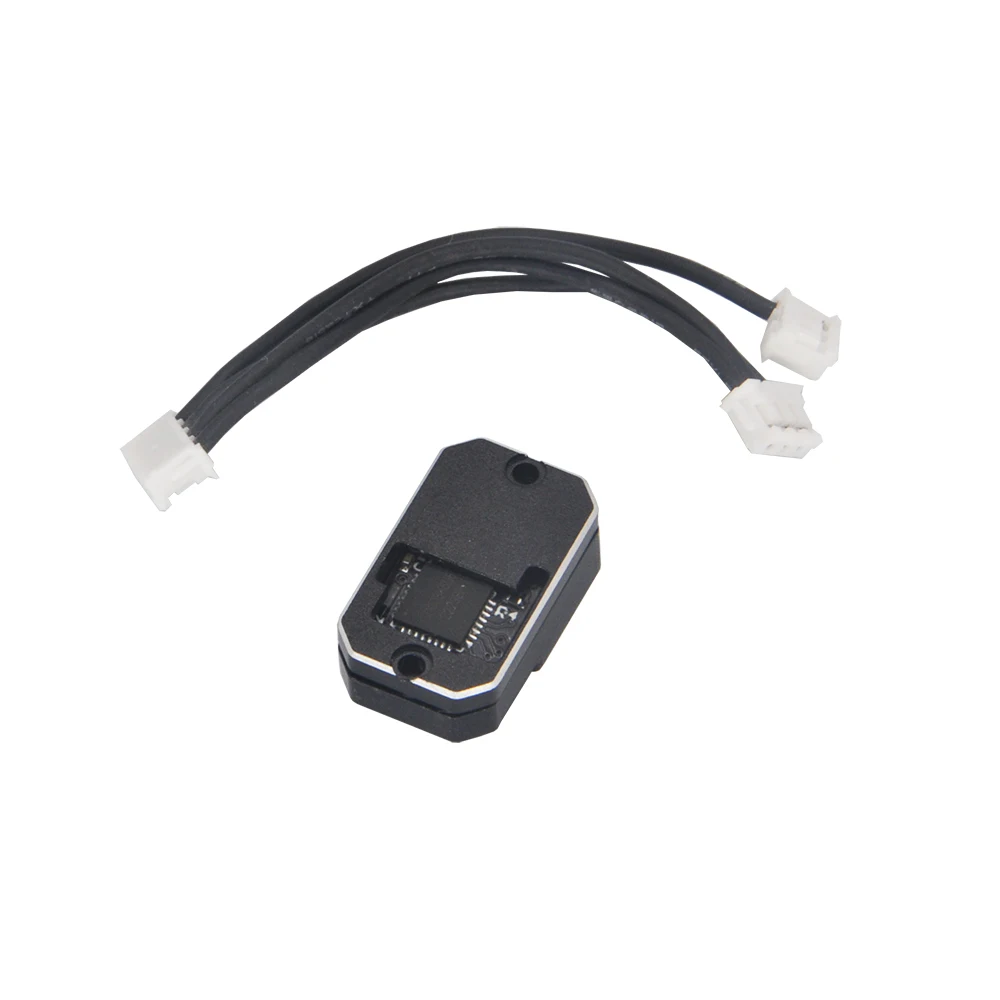
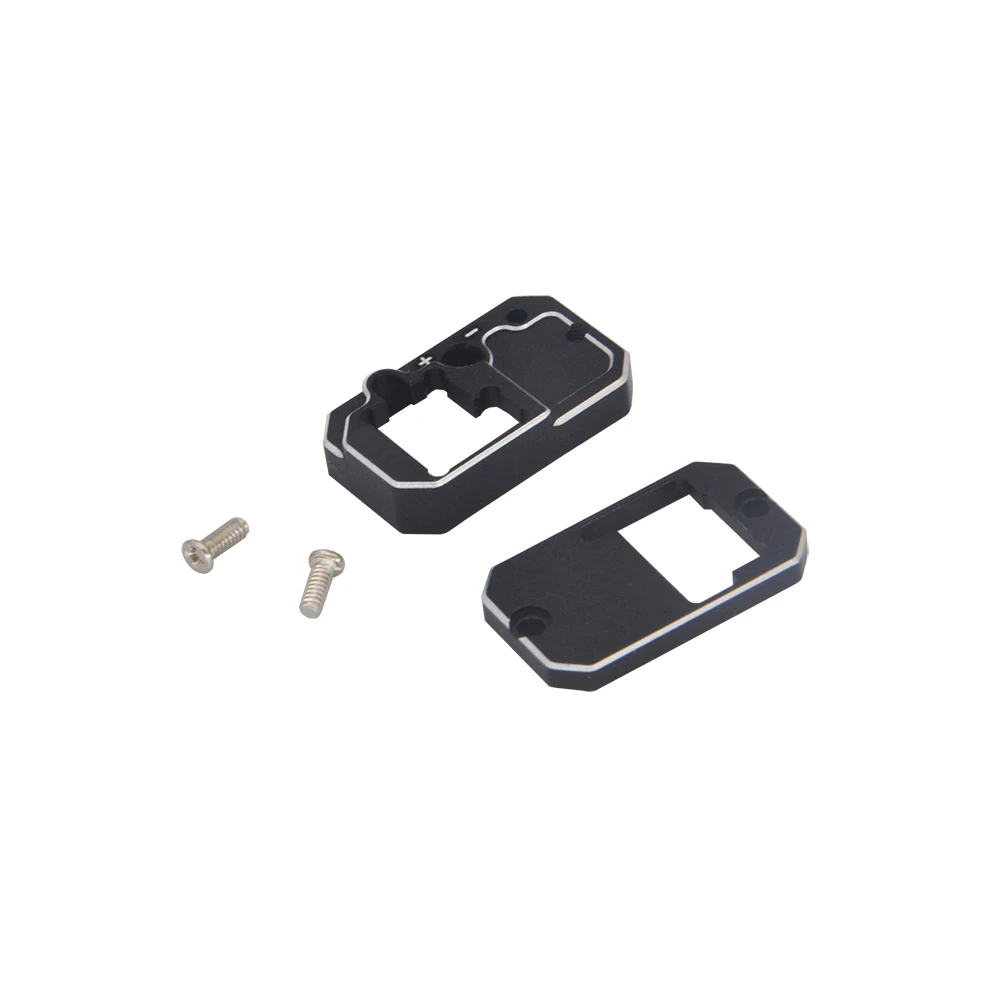
Dasmikro Super Nano Drift Gyro V5 with CNC Aluminum Case for 1/24 1/28 Drift Car Mini-Z GL Racing RC Parts
DasMikro Super Nano Drift Gyro V5 with CNC Aluminum Case For 1/24 1/28 Drift Car Mini-Z GL...
DasMikro Super Nano Drift Gyro V5 with CNC Aluminum Case For 1/24 1/28 Drift Car Mini-Z GL Racing RC Parts

This GYRO unit is especially optimized for micro RC drift. Ultra-light, small size and stable performance.
Feature:
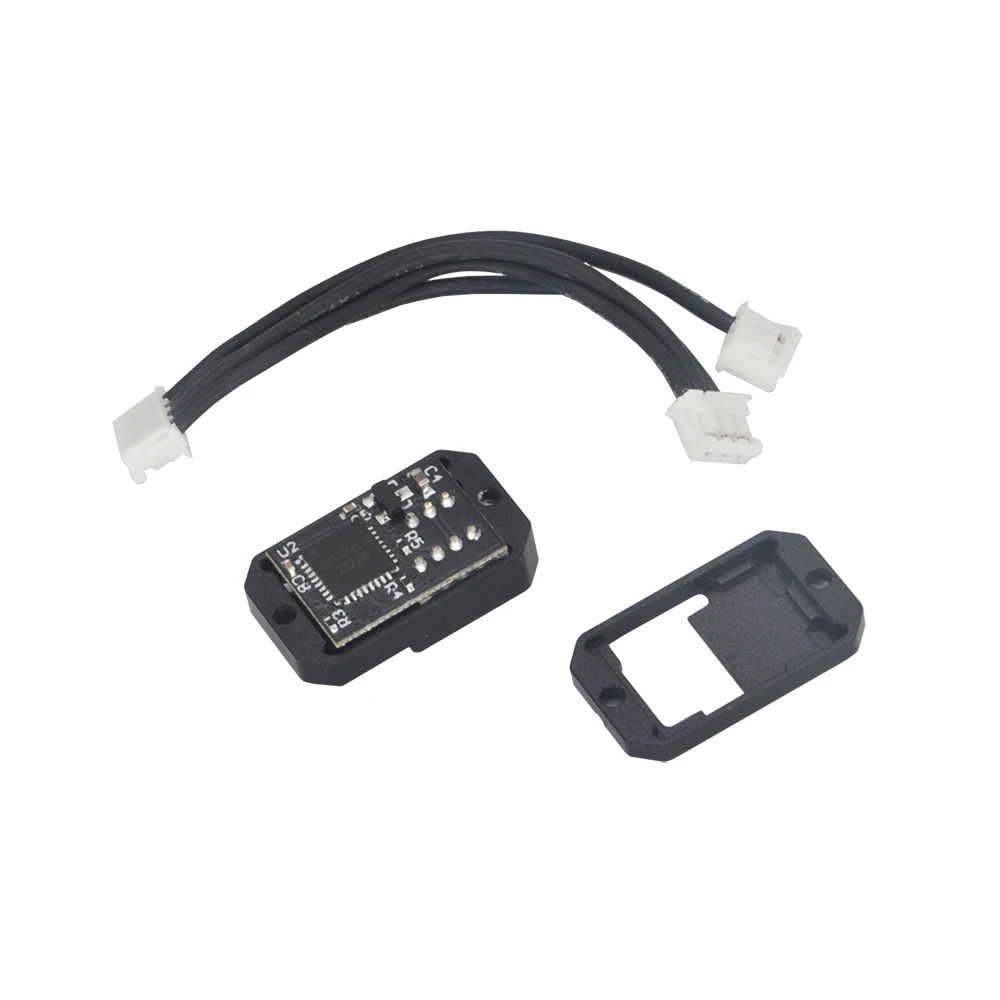
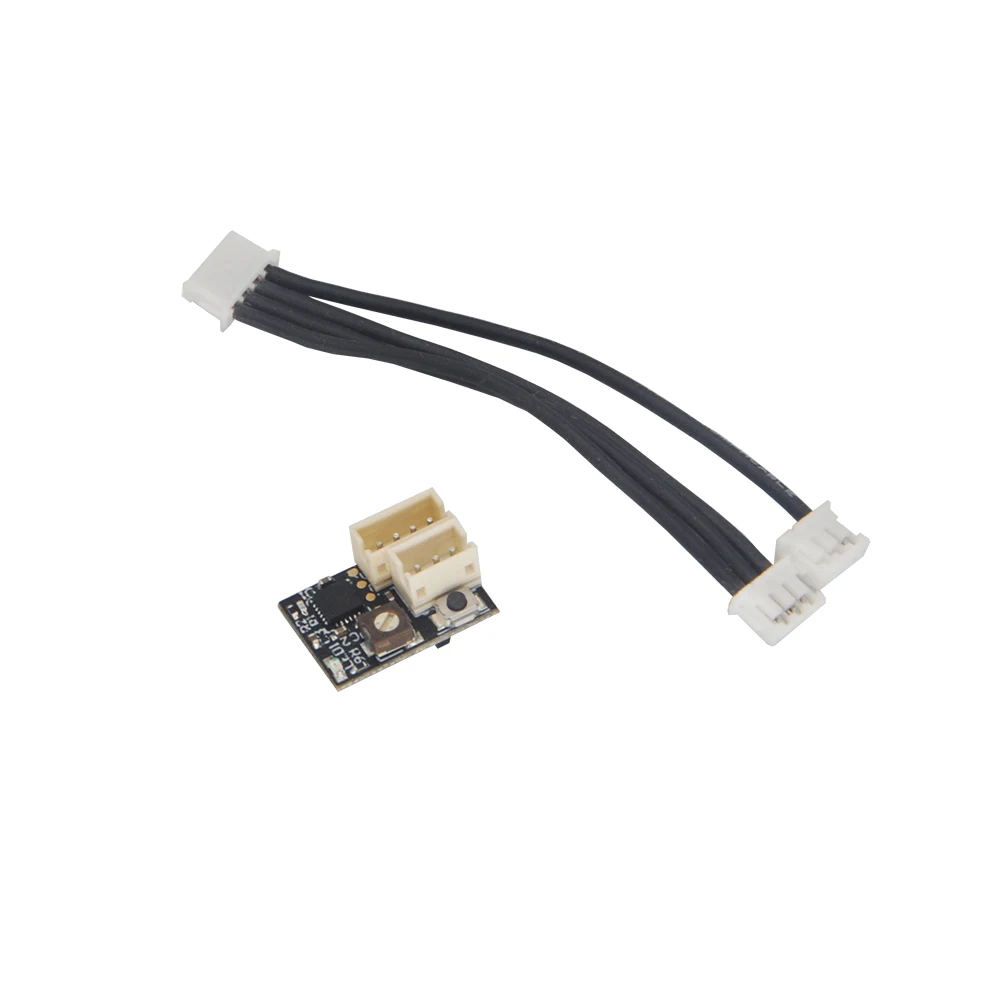
◆ Compact design, suitable for micro and micro rc drift cars
◆ High quality gyro sensor with stable performance
◆ Internal routine optimized for RC drift
◆Support high voltage input: 3.7v-8.4v
Specification:
Dimensions: 14.5 x 10 x 6 mm
Working voltage: 3.7~8.4V
Weight: 0.8g (without cable)
Current consumption: 20mA/6V
Working temperature: -10℃+70℃
Output signal: 1520uS (50Hz/333Hz)
Control system: PID control system
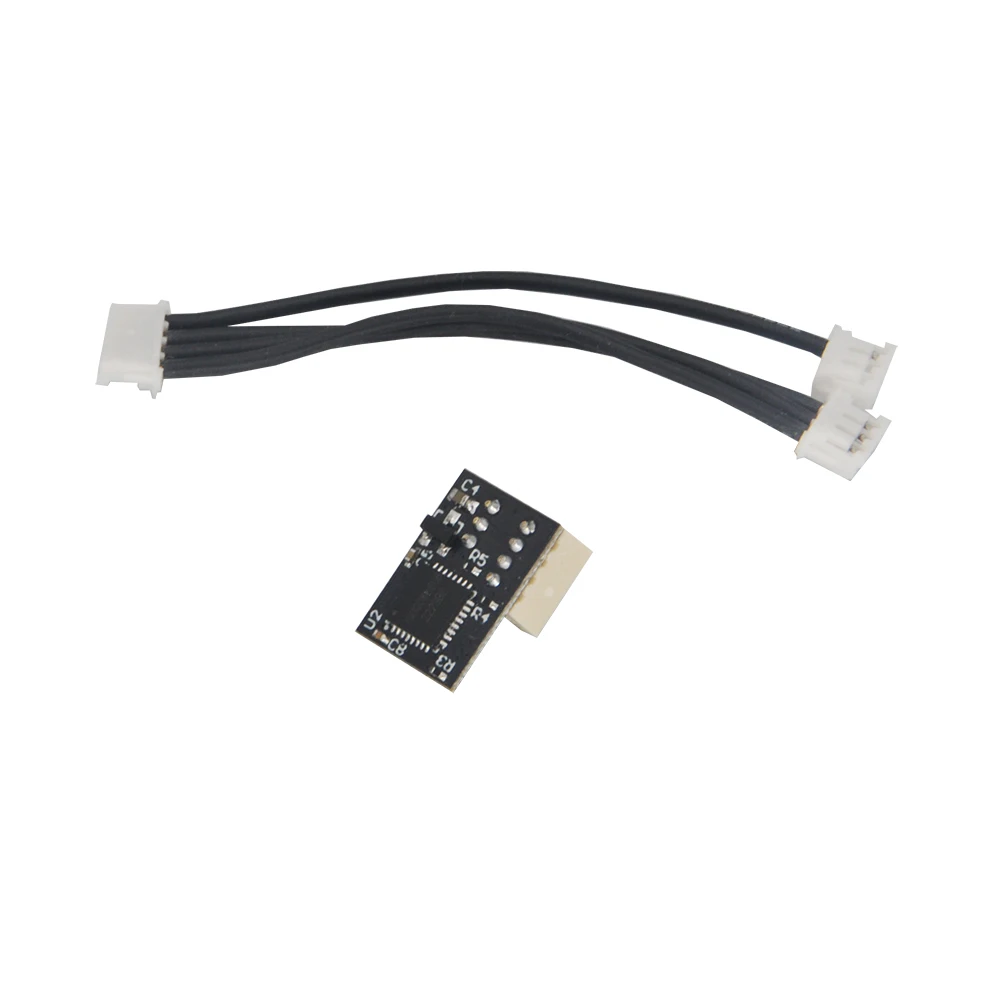
Input and output plug: JST1.5mm
Package Included:
According to your options
Wire Connections:
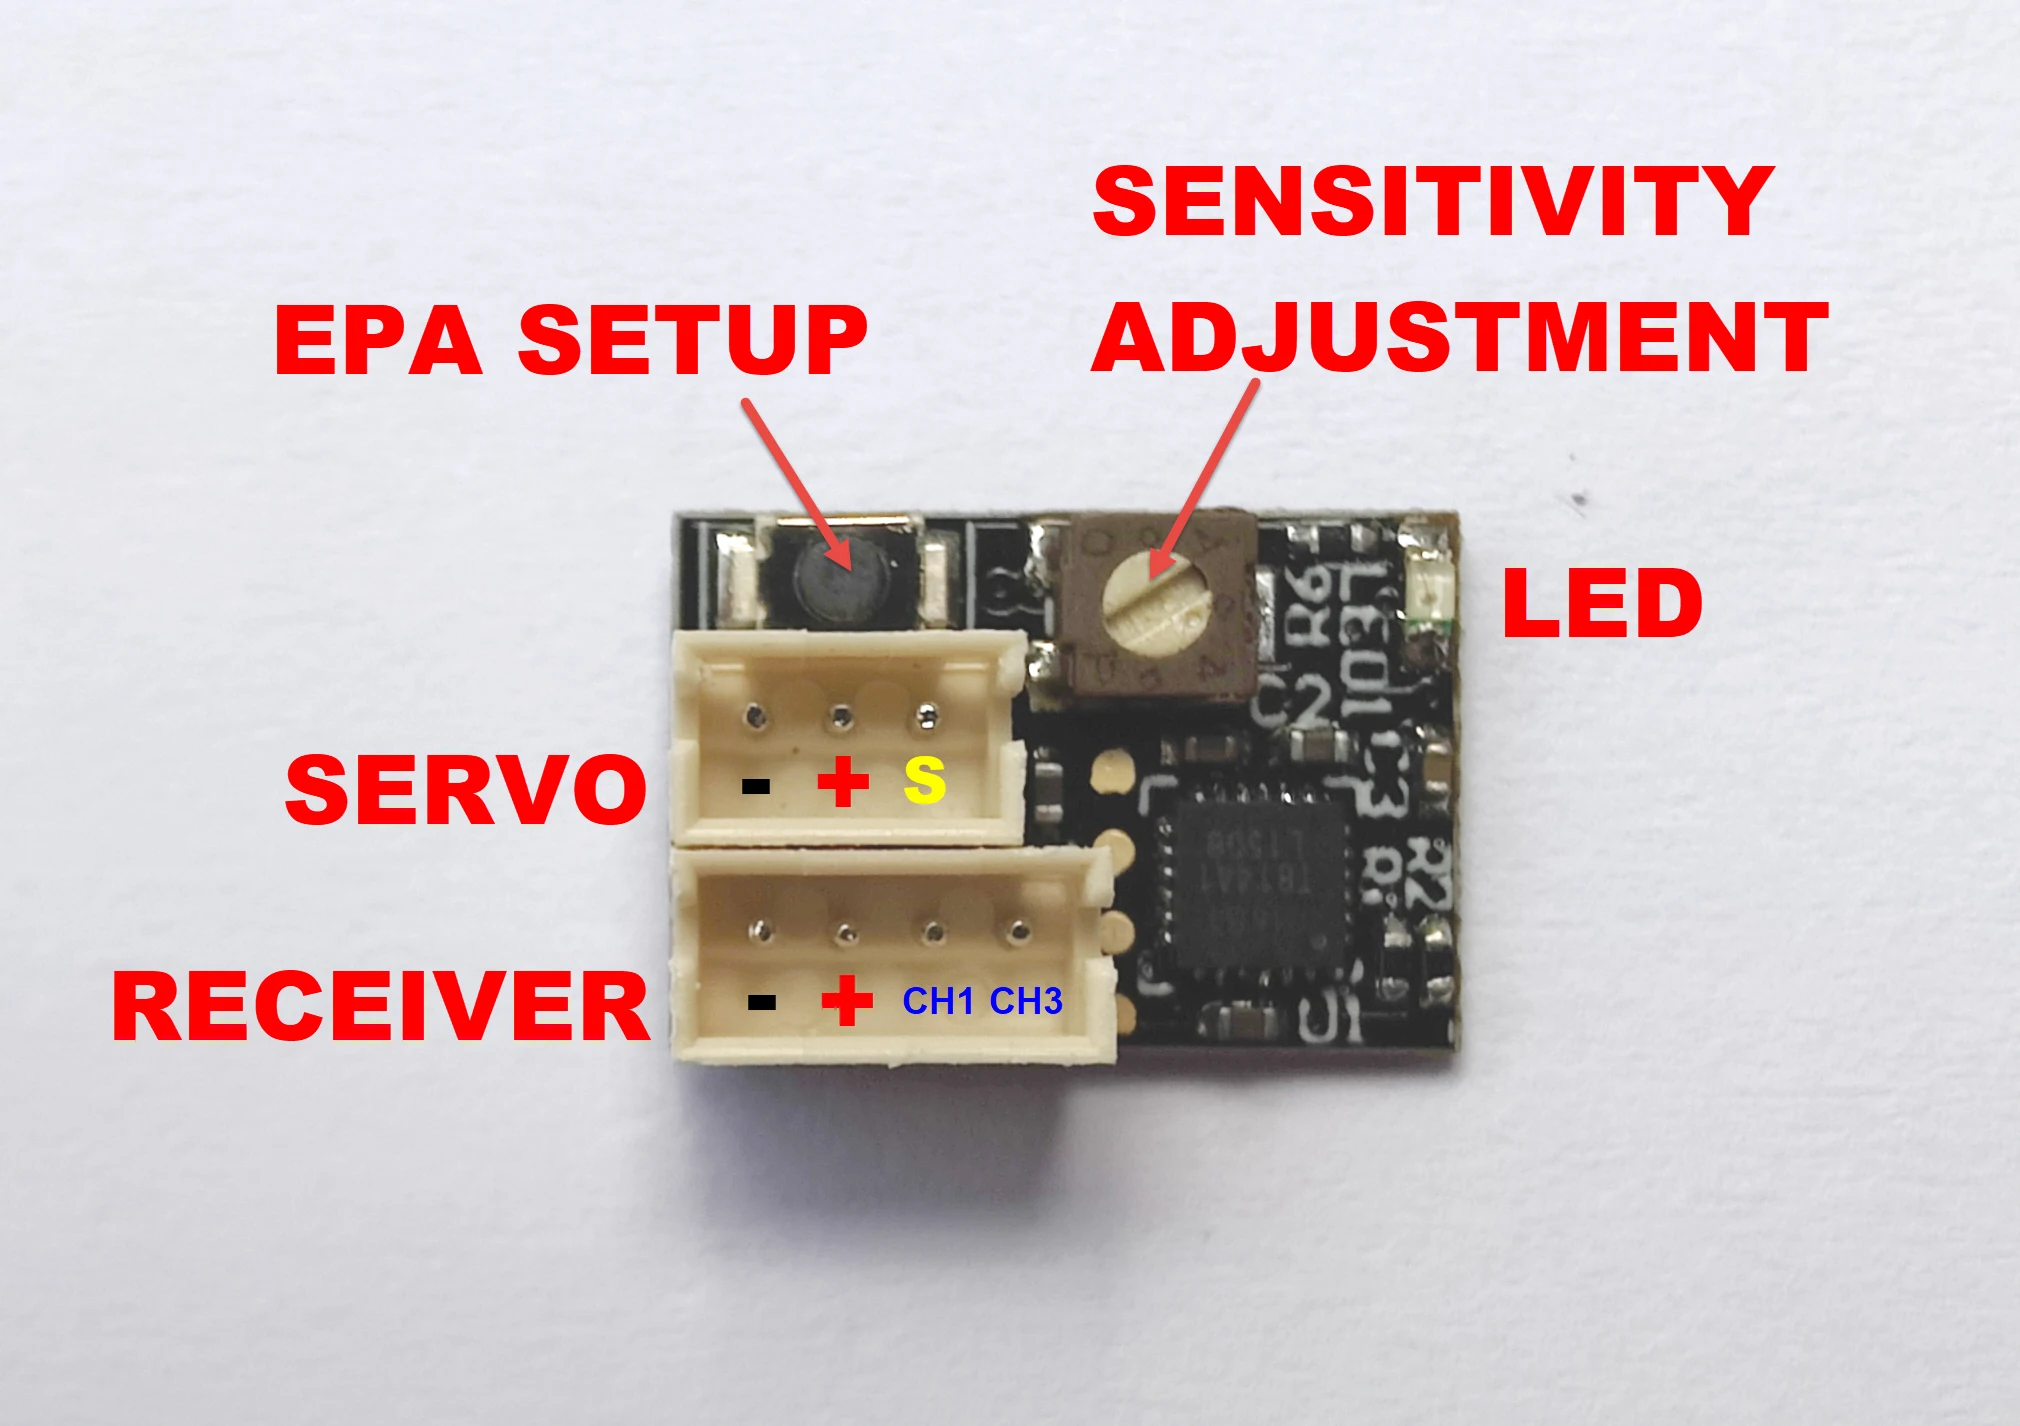
Instructions:
SERVO: connect steering servo
Receiver: Connect the steering channel (CH1) of the receiver; connect the control channel (CH3) of the receiver or not
When the gyro sensitivity wire is connected to the receiver CH3, the gyro sensitivity is controlled by the CH3 value, which can be adjusted on the transmitter. When the CH3 value is 0%, the sensitivity is zero. 100% sensitivity can be achieved by adjusting the CH3 value to -100% or 100%. Adjusting the CH3 value to -100% or the CH3 value to 100% will have different sensitivity curves. GYRO offers 2 different optimized sensitivity curves for drift. -100%-0% is the sensitivity sensitivity, 0%-100% is the relaxation sensitivity.
When the CONTROL channel is not connected, the gyro sensitivity is controlled by VR. When VR is in the neutral position, the sensitivity is zero. Rotate the VR left or right to reach 100% sensitivity. VR to left or VR to right will have different sensitivity curves. GYRO offers 2 different optimized sensitivity curves for drift.
Gyroscope EPA Adjustment:
First adjust (left and right steering) on the transmitter, the EPA value you need.
EPA (Travel) Settings:
--- Gyro forward setting ---
Press the "SETUP" button, then turn on the GYRO. When the LED starts blinking fast, wait for the LED to blink slowly and the gyroscope is now in EPA (travel) setup mode, release the "SETUP" button. First turn the remote control to the left "EPA" position (the left end of the chassis) and stop there for a few seconds, when the left "EPA" position is saved in the gyroscope, the servo will automatically return to the middle position. Then turn the remote to the correct "EPA" position (right end position of the chassis) and stop there for a few seconds, when the correct "EPA" position is saved in the GYRO and EPA (drive) settings, the SERVO will automatically return to The middle position has been completed.
--- Gyro Reverse Setting---
Press the "SETUP" button, then turn on the GYRO. When the LED starts blinking fast, wait for the LED to blink slowly and the gyroscope is now in EPA (travel) setup mode, release the "SETUP" button. First turn the remote control to the right "EPA" position (the right end of the chassis) and stop there for a few seconds, when the left "EPA" position is saved in the gyroscope, the servo will automatically return to the middle position. Then turn the remote to the "EPA" position on the left (left end position of the chassis) and stop there for a few seconds, when the correct "EPA" position is saved in the GYRO and EPA (drive) settings, the SERVO will automatically return to to the middle position has been completed.
After the above settings are completed, please re-adjust the EPA value on the transmitter, and adjust the value according to the steering of your car chassis to the value you need.
How to Reset Gyro V5 Board:
When the servo is shaking, the gyro cannot work properly.
Turn off the power of the remote control/controller:
1. Press the gyro "SETUP" button first, then turn on the ESC power switch.
The red light flashes, then flashes quickly and continuously (or not quickly and continuously. When this does not happen, you can press and hold the "SETUP" button for about 15 to 20 seconds.)
Wait for the slow flash to recover, release the "SETUP" button, and then quickly press the gyro "SETUP" button 3 times.
2. Turn off the system power
3. Repeat steps 1-3 once.
4. Turn on the power of the remote control/controller
5. Press the gyro "SETUP" button first, then turn on the ESC power switch.
The gyro LED will (first flash once → then flash slowly → flash quickly → then flash slowly) Release the setup key at this time (you can wait for 2 seconds after the slow flash before releasing it to ensure that you enter the setup mode).